First, I would Highly Recommend installing and using Chrome or Chromium with Google Wave.
1) How to add Images to a Wave in Google Wave.
When using Chromium/Chrome, The first time you try to drag/drop an image into Google Wave, Google Gears addon will be autoinstalled. (if not already installed)
You can then drop images into Google Wave.
You drop an image onto a "wave" and Google Wave will auto create a reply "wave" for you, using the image.
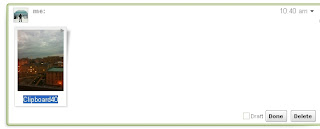
The image will appear in the "wave" using the file name of the image, you should change the displayed file name before clicking the 'done' button on the "wave".
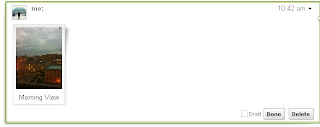
You can also add text to the "wave" created by the drag/drop of the image.

2) Make the contacts box bigger: Place your cursor on the right wall of the contact box, when it changes, left click and drag to the right. This will increase the contact box size.
This same process works for all of the Wave items (Navigation/Inbox/Open Wave(s)) on your Wave page.
It doesn't appear to save the layout sizes from session to session however.
3) When creating a "wave", an edit bar appears at the top of the "wave" and allows for links/files/text formatting

4) Playback button (shown at the top an open Wave) shows how the Wave progressed. Sort of like a slide show for the Wave.

5) The "Name" shown in the Contacts Box comes from your Google profile. So be sure to setup your profile using the Google account which you using with GoogleWave. If not setup, we see your email address as your "Name". The avatar picture displayed in the Contacts Box also comes from the Google profile. But for some reason doesn't always appear in everyone's Contact Box, even if you have a avatar picture setup in your Google profile.
(No image of the Contact Box here as I do not wish to display my contact's email addresses)
6) Google Wave has a number of Keyboard shortcuts:

(Click on the Photo above to view the keyboard shortcuts full-screen)
Note: Use the "Spacebar" to see new "waves" in an open Wave document, this can be a great time saver.
7) Creating Folders in Google Wave allows you to create categories for your Wave documents. This is also useful to clean the Google Wave Inbox of older Waves and file the Waves documents.
To move a Wave document to a Folder: click on a Wave document and dragdrop it to the Folder name.
Selecting the dropdown arrow to the right of the folder allows for a Color to be selected for the Folder / Delete Folder / Rename Folder.
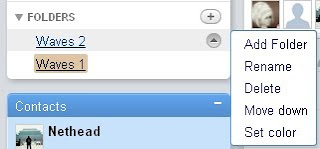
Selecting a color for the Folder will make it easier to see different Folders when looking at the Waves via "All"
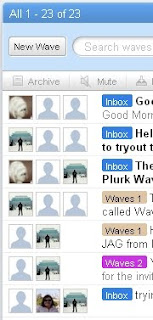
When deleting a Folder, it does not delete the Wave documents contained within the deleted Folder, but moves the Wave documents to "All".
You can also create folders inside folders.

8) CTRL-click on a Wave document will open it. You can open multiple Waves documents at once doing this. But, you need a Large Screen for this to be useful.
Once open, click on the bottom of the Wave "box" to resize the Wave.
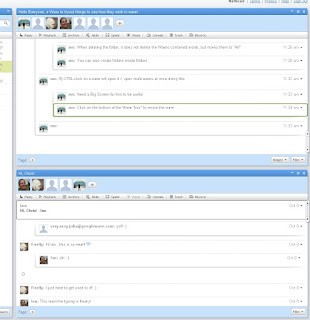
9) The Green Bar to the left of a "wave" reply shows it is new since the last time you read the Wave document, you can click on the green bar to 'mark' read.
10) When clicking on a Link in a "wave", it will open the link to a new page.
11) When u create a "wave", click on the red 'map' icon on the edit bar, it will add a map to your wave.
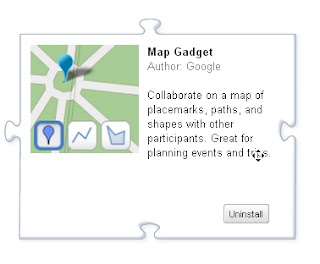
Note: If you do not see the icon, you may not have the Map Gadget installed. Review the Wave by Doctor Wave: "Extensions Gallery", which should be in your inbox. Scroll through this Wave and you will see different Gadgets you can install into to your Wave environment.
Useful video to watch Google Wave: 15 features
2 comments:
Cool! Need to remember to come back here after I get the invite!
Thank you.
Post a Comment